
Music Production: Setting Up a Home Studio on a Tight Budget
The dream of composing, recording, and mixing music has never been more accessible. Driven by advancements in digital technology and the affordability of quality hardware, creating a personal music studio is now well within reach for individuals across the United States. This guide explores the realistic path to building a functional home setup without breaking the bank 💰.
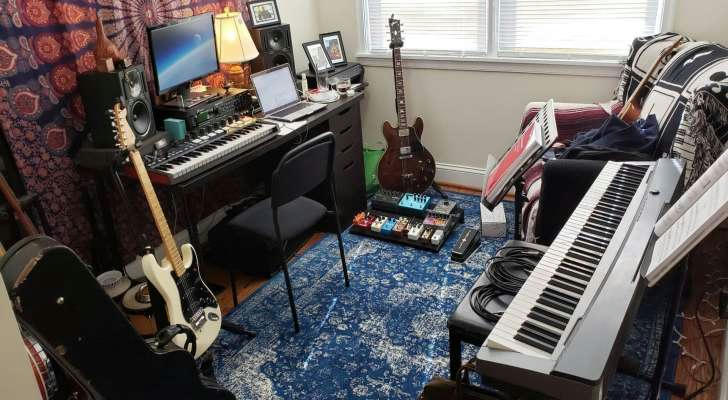
🎼 Music Production: Setting Up a Home Studio on a Tight Budget
💻 The Brain of the Studio: Digital Audio Workstations (DAW)
The DAW software is the central nervous system of any production space. It handles recording, editing, mixing, and mastering tasks. Choosing the right one is the single most important software decision.
- Entry-Level Software:
- Many audio interfaces include starter versions of popular DAWs with their purchase.
- This provides a legitimate, fully functional gateway to learning the interface and workflow.
- A significant number of professional tracks are produced using major DAW platforms.
🔌 Essential Gear: Focusing on Core Components
A common misconception is the need for excessive equipment. A basic, high-quality signal chain is far more effective than an abundance of low-quality components. Prioritize clarity and reliability in these three areas.
- The Trinity of Essential Gear:
- Audio Interface: Converts analog microphone signals into digital data for the computer.
- Microphone: A good large-diaphragm condenser is versatile for vocals and acoustic instruments.
- Headphones: Closed-back monitoring headphones are necessary for tracking without bleed into the microphone.
🎤 Choosing the Right Mic: A Cost-Benefit Analysis
Microphones represent a critical investment, but performance has become remarkably good at lower price points. Dynamic microphones are often the most durable and cost-effective starting point for treated or untreated rooms.
| Microphone Type | Primary Use Case | Typical Budget Range (USD) | Key Strength |
|---|---|---|---|
| Dynamic | Vocals, Guitar Amps | $75 - $200 | Rejects background noise 🚫 |
| Condenser | Acoustic Instruments, Voiceover | $150 - $400 | Detailed and accurate sound capture ✨ |
| Ribbon | High-end; Warm, vintage sound | $400+ | Smooth high-frequency response |
- Actionable Advice: For a tight budget, look for well-regarded entry-level dynamic microphones 🎙️. These deliver professional results on vocals and instruments, especially when the room acoustics are not perfect.
👂 Monitoring: Hear What is Actually Happening
Accurate monitoring is paramount for mixing decisions. Relying on consumer-grade speakers or earbuds will lead to mixes that sound poor on other systems. Critical listening requires tools designed for flat frequency response.
- Monitoring Best Practices:
- Studio Headphones: These offer the most budget-friendly path to a relatively uncolored sound 🎧.
- Acoustic Treatment: Even simple solutions like moving blankets or strategically placed furniture help to manage sound reflections.
- Monitor Speakers: If possible, acquire a pair of entry-level active monitors and set them up in an equilateral triangle formation with the listening position.
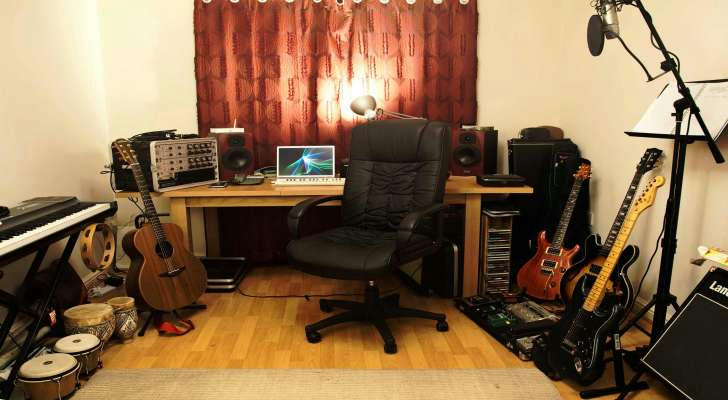
🏠 The Room: Acoustic Treatment and Sound Management
The biggest and most often overlooked factor in a home studio is the room itself. A poorly treated room will severely compromise even the most expensive gear. Sound waves interact with surfaces, creating unwanted reflections.
- Initial Steps in Room Treatment:
- Place thick absorption panels or dense materials at the primary reflection points (side walls, ceiling).
- Use rugs on hard floors to minimize flutter echo and harsh reflections.
- Position the mixing desk away from the center of the room to avoid standing wave issues.
🛠️ The Power of Used and Open-Source
Individuals operating on a minimal budget can significantly reduce capital expenditure by exploring the secondary market and leveraging publicly available resources. This approach requires patience but yields considerable savings.
Verification: Online marketplaces and local consignment shops frequently list quality, lightly used audio interfaces and microphones from producers upgrading their setups.
- Money-Saving Tactics:
- Check for software bundles that include instrument samples and effects plugins with the purchase of an interface.
- Explore free, fully functional VST plugins (virtual instruments and effects) created by independent developers.
- Ensure any used component is tested thoroughly for clean signal and reliable driver compatibility before purchase.
🔗 The Workflow: Practical Setup Example
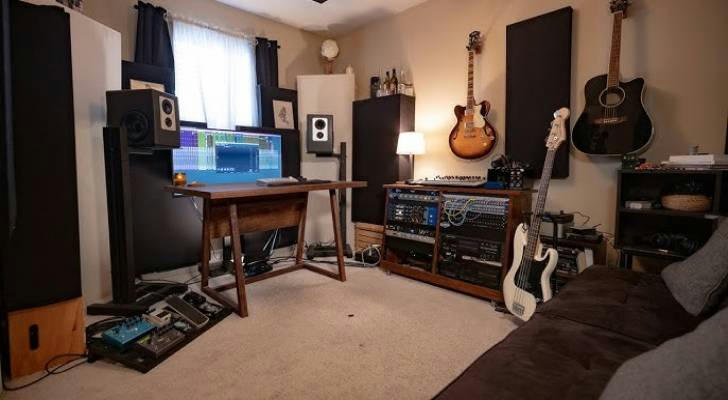
A basic, functional studio setup can be achieved with minimal components, proving that creativity is not limited by a massive budget. Start simple and expand components only when a need is clearly identified.
- Connect the audio interface to the computer via USB or Thunderbolt.
- Plug the microphone into the interface using an XLR cable.
- Load the DAW software and set the interface as the input/output device in the preferences.
- Set the microphone's input gain (preamp) to an appropriate level to capture a strong signal without clipping (peaking).
- Plug the monitoring headphones into the interface's dedicated headphone jack for tracking.
🚀 Scaling the Studio: Future-Proofing Decisions
As skills grow, the studio can evolve. Smart initial purchases ensure the foundational gear remains relevant, even when adding more specialized instruments or effects units later. Avoid purchasing components that will quickly need replacement.
- Focus on Longevity:
- Acquire an interface with expandable inputs 📈 if planning to record multiple instruments simultaneously.
- Select a computer with sufficient RAM and processing power to handle demanding mixing projects.
- Invest in quality cabling to prevent signal loss and intermittent noise issues.
A successful low-budget studio emphasizes smart allocation of resources and a deep understanding of audio fundamentals over acquiring every conceivable gadget.